Fix Snap Layouts Not Working in Windows 11
In this article, we will be discussing how you can fix Snap layouts not working in Windows 11.
1 Fix Snap Layouts Not Working in Windows 111.1 Ensure You Have Enabled Snap layouts In Windows 111.2 Use Keyboard Shortcuts1.3 Update Windows1.4 Run The Windows Update Troubleshooter1.5 Conflicting Apps2 Conclusion
Ensure You Have Enabled Snap layouts In Windows 11
If you have not enabled snap layouts in Windows 11 then you may not be able to use it. You will have to enable the Snap layouts from the Settings in Windows 11. To enable snap layouts in Windows 11, follow the steps given below-
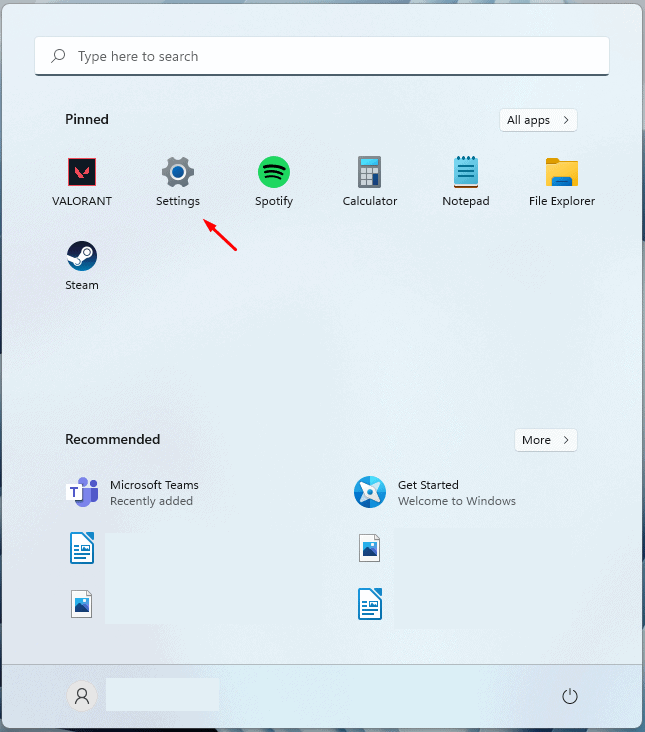
Press the Windows + I key combo to open the Settings app on your PC.
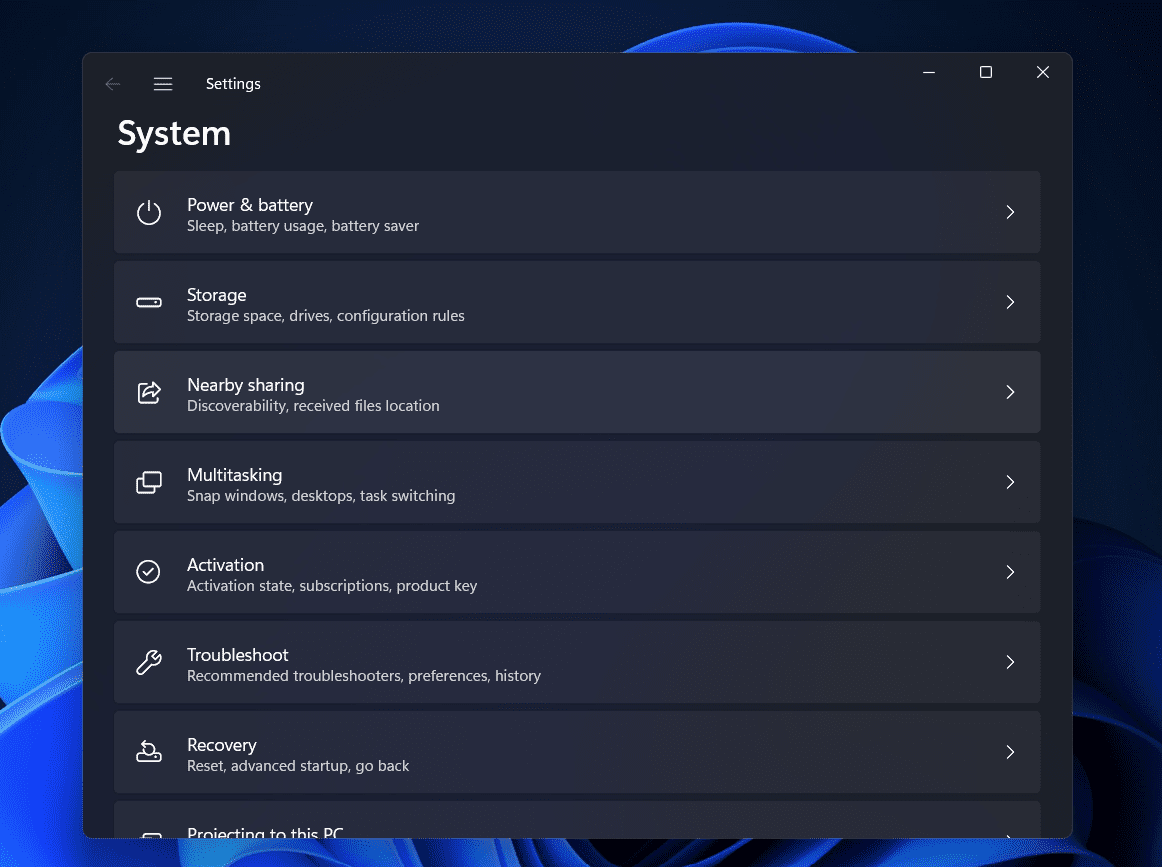
On the right side, click on Multitasking.
Here enable the toggle for the Snap layouts.
After you have enabled it, hover the mouse over the Maximize/Minimize button and you will see the snap layouts feature.
Use Keyboard Shortcuts
Try using the keyboard shortcuts to access the snap layouts. Windows + Z key shows the snap layouts and you will be able to the feature. You can either use the Windows + Arrow key to arrange the screen in the direction you want to.
Update Windows
You should try updating the Windows. Many times this may be a bug in the system. To update the Windows, follow the steps given below-
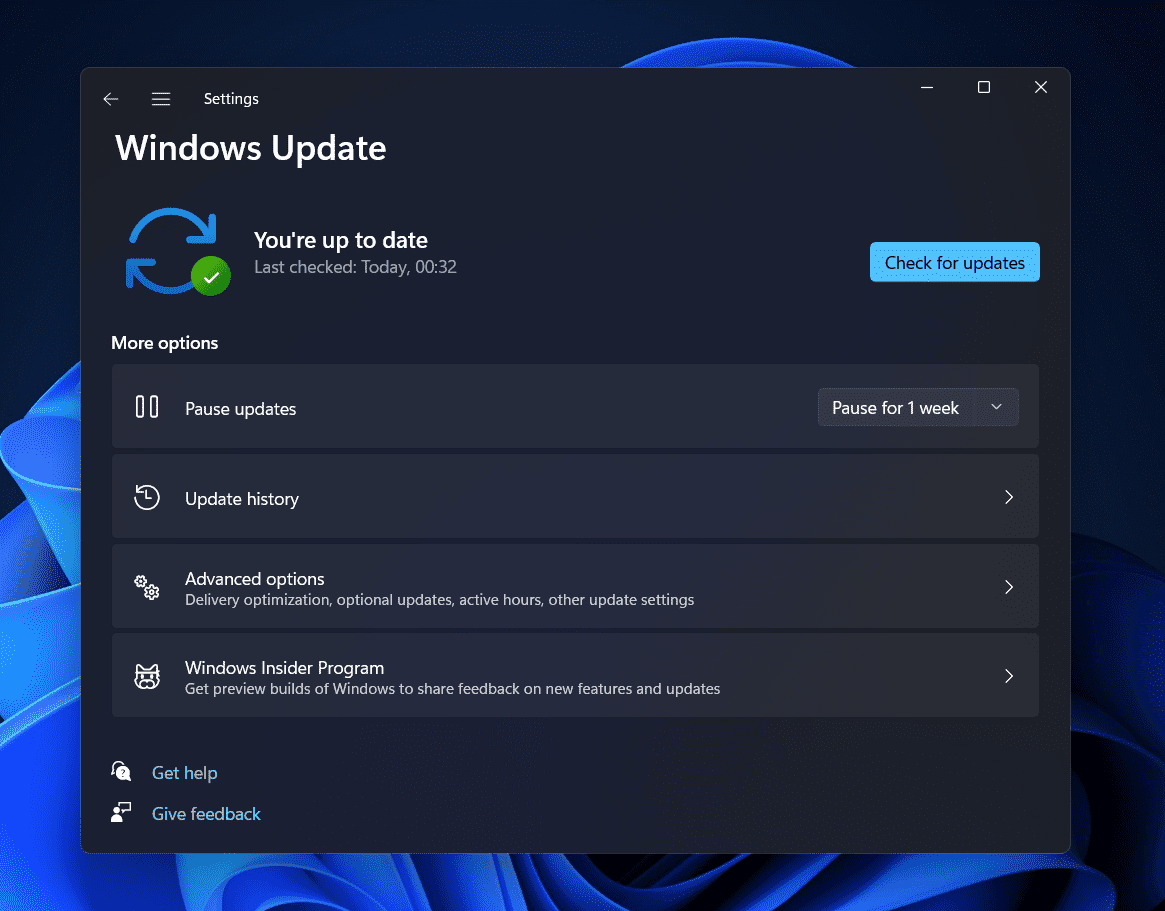
Open the Settings by pressing the Windows + I key combo.In the left sidebar, click on the Windows Update section.Now on the right side, click on the Check for Updates button to begin checking for updates.
Download and install all the updates that your PC finds. After you have installed the update, restart your PC to apply the changes.After doing so, try using the Snap layouts again. Check if it works or not. If it still does not work, then move to the next troubleshooting step.
Run The Windows Update Troubleshooter
Another thing that you can do is try running the Windows Update Troubleshooter. This has been known to solve the problem of many users. To run the Windows Update Troubleshooter, follow the steps given below-
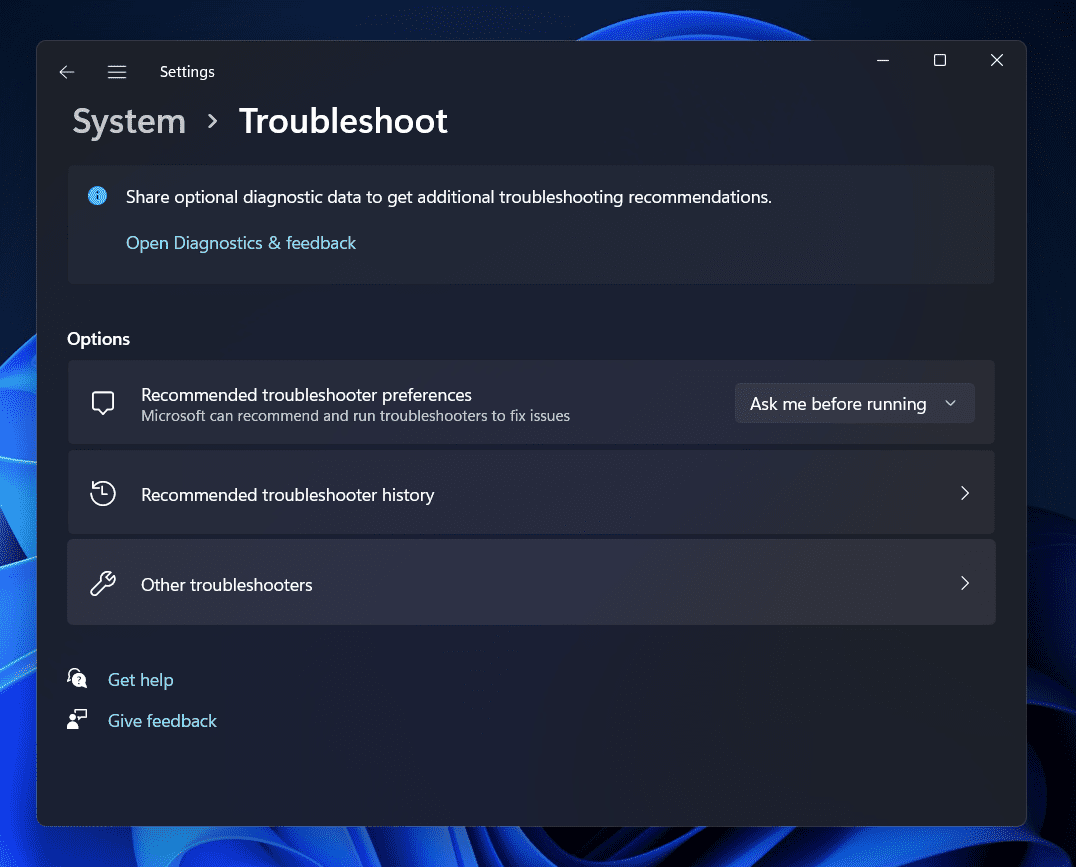
Firstly, open the Settings app on your PC. You can do so by pressing the Windows + I key combo.Click on the Troubleshoot options on the right side of the Settings. On the next screen, click on Other Troubleshooters.
Click on the Run button right next to the Windows Update option.
Now follow the on-screen instructions to run the Windows Update Troubleshooter. This should fix the issue with the Snap layouts. However, if the issue still occurs, then you should move to the next step.
Conflicting Apps
Many times the issue may only occur with particular apps. This is because the snap layouts feature is still in the initial phase and various apps are incompatible with it. Therefore, if you are facing this issue with the particular app, then it may be because the app is still not compatible with the snap layouts as of now. There’s nothing you can do at your end if this is the case. RELATED GUIDES:
How to Fix Windows 11 Widgets Not Working ProperlyHow To Create Live Tiles And Widgets In Windows 11 How To Split Your Screen In Windows 11
Conclusion
This is how you can fix Windows 11 snap layouts not working. If you have been facing issues with snap layouts then you can follow the steps mentioned in this article to fix snap layouts in Windows 11.
Δ