Check Daily Data Usage in Windows 11
We’ll talk about how to track internet usage on Windows 11 in this article.
1 Check Daily Data Usage in Windows 111.1 Track Internet Usage On Windows 111.2 Resetting Internet Data Usage On Windows 111.3 Setting Data Limit On Windows 11
Track Internet Usage On Windows 11
You can track internet usage on your Windows 11 PC from the Network and Internet section of the Settings app. To do so, follow the steps given below-
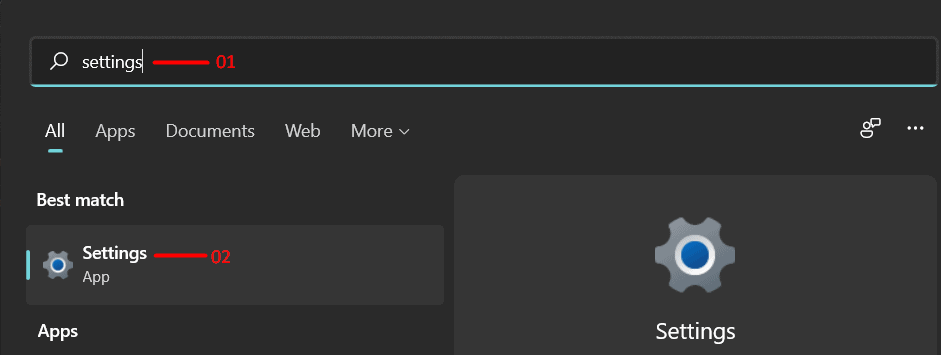
Firstly, open the Settings app on your PC. You can do so by pressing the Windows + I key combo. Another way to open the Settings app is by the search for Settings in the Start Menu and then clicking on it from the search result to open the Settings app.
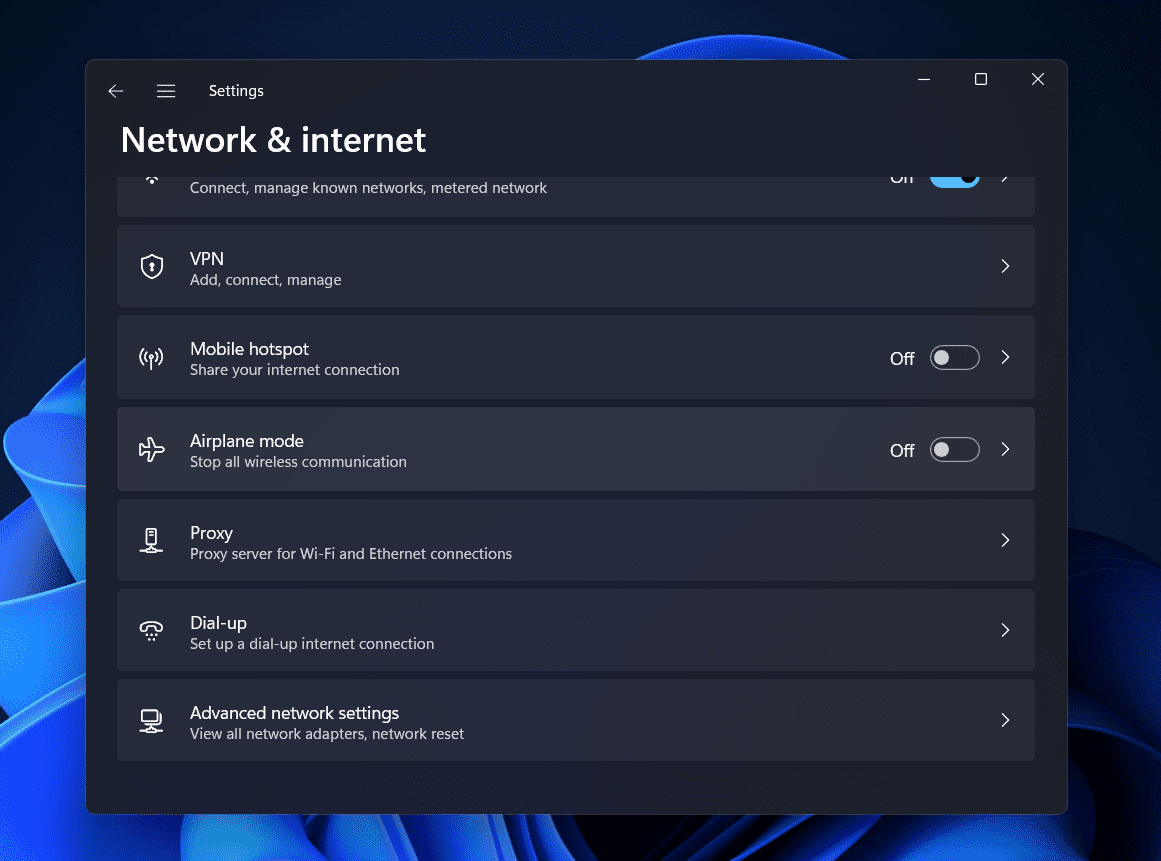
Head to the Network & Internet tab from the left sidebar of the Settings app.
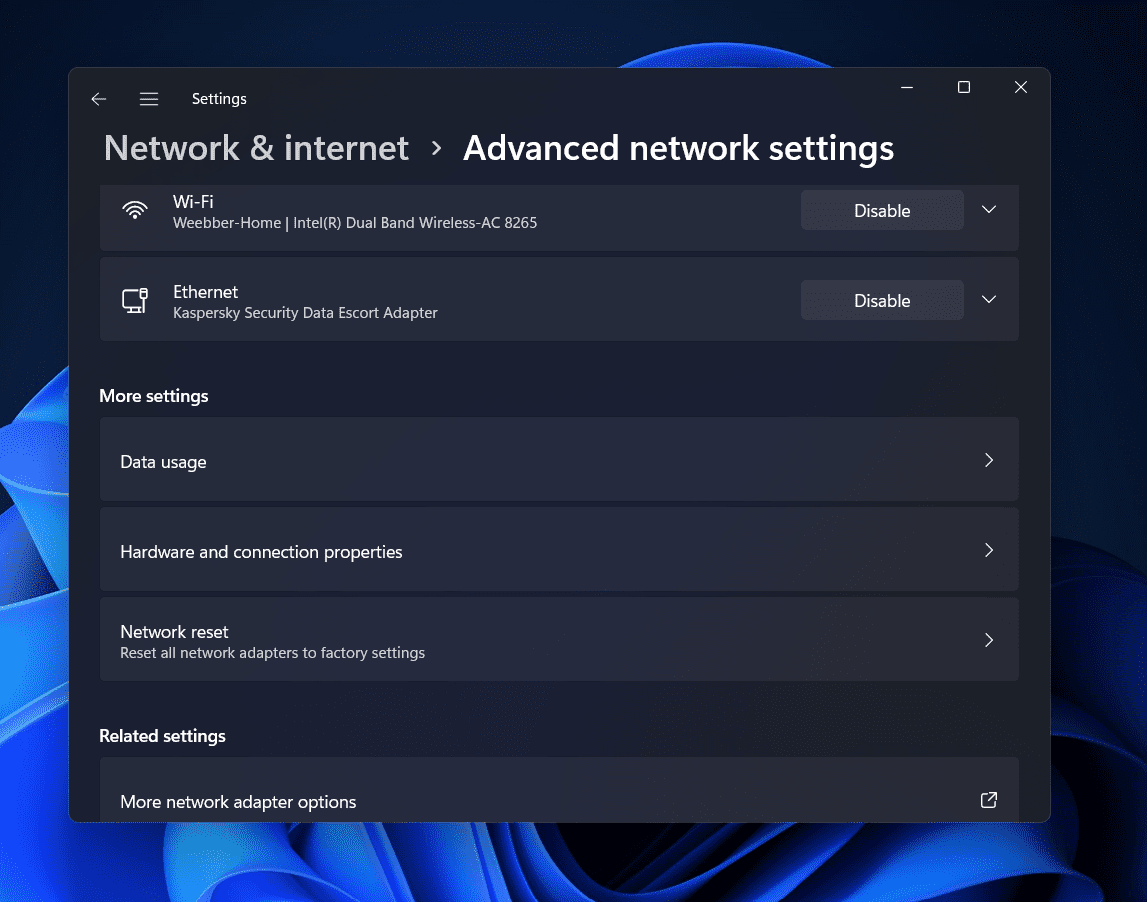
Scroll down to the bottom of the right side of the Network & Internet section, and then click on Advanced Network Settings. Here, search for the Data Usage option and click on it. You will find this option under the More Settings section.
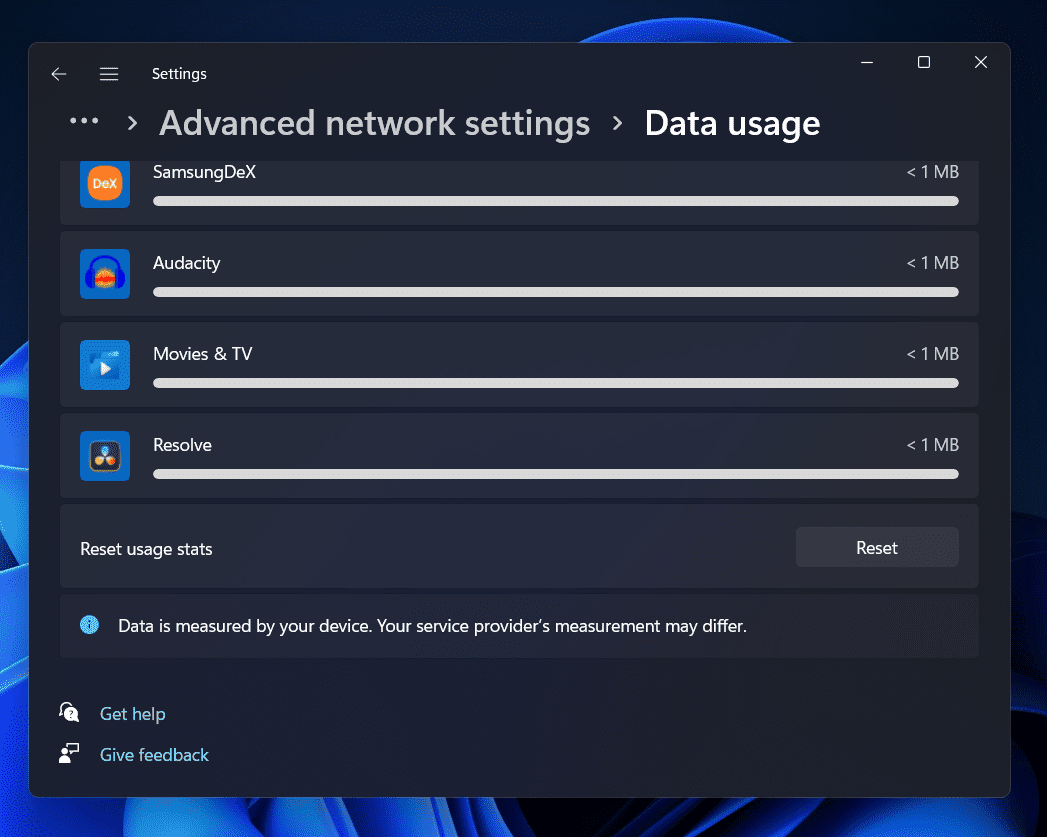
On the next screen, you will be able to see the internet data you have used in the last 30 days. You will find the data used in the top left corner of the screen. You can also see the data used over the wireless network as well as the wired network. Scrolling down, you will find a list of apps, showing how much data each app installed on your Windows 11 PC has consumed.
Resetting Internet Data Usage On Windows 11
If you want to reset the Internet Data Usage on Windows 11, then you have the option to do that as well. To reset the internet data usage on your Windows 11 PC, follow the steps given below-
Press the Windows + I key combo to open the Settings app on your PC.In the Settings app, head to the Network & Internet tab from the left sidebar.Now on the right side of the Network & Internet tab from the right side, click on the Advanced Network Settings.
On the next screen, click on the Data usage option that you will find under the More Settings section.
Next, scroll down to the bottom of the page to find the Reset Usage Stats. Click on the Reset button next to the Reset Usage Stats to reset the internet data usage on your Windows 11 PC.
Setting Data Limit On Windows 11
It might be a good option for you to set a data limit if you are not having an internet connection with unlimited data. You can set up a data limit on your Windows 11 PC if you don’t want your data to get exhausted. To set up the data limit on a Windows 11 PC, follow the steps given below-
Firstly, open the Settings app on your PC. To do so press the Windows + I key combo. Now in the Settings app, click on the Network & Internet section on the left sidebar.On the right side of the Network & Internet section, click on the Advanced Network Settings. You will find this option at the bottom of the page.
On the next screen, click on the Data Usage option under the More Settings section.
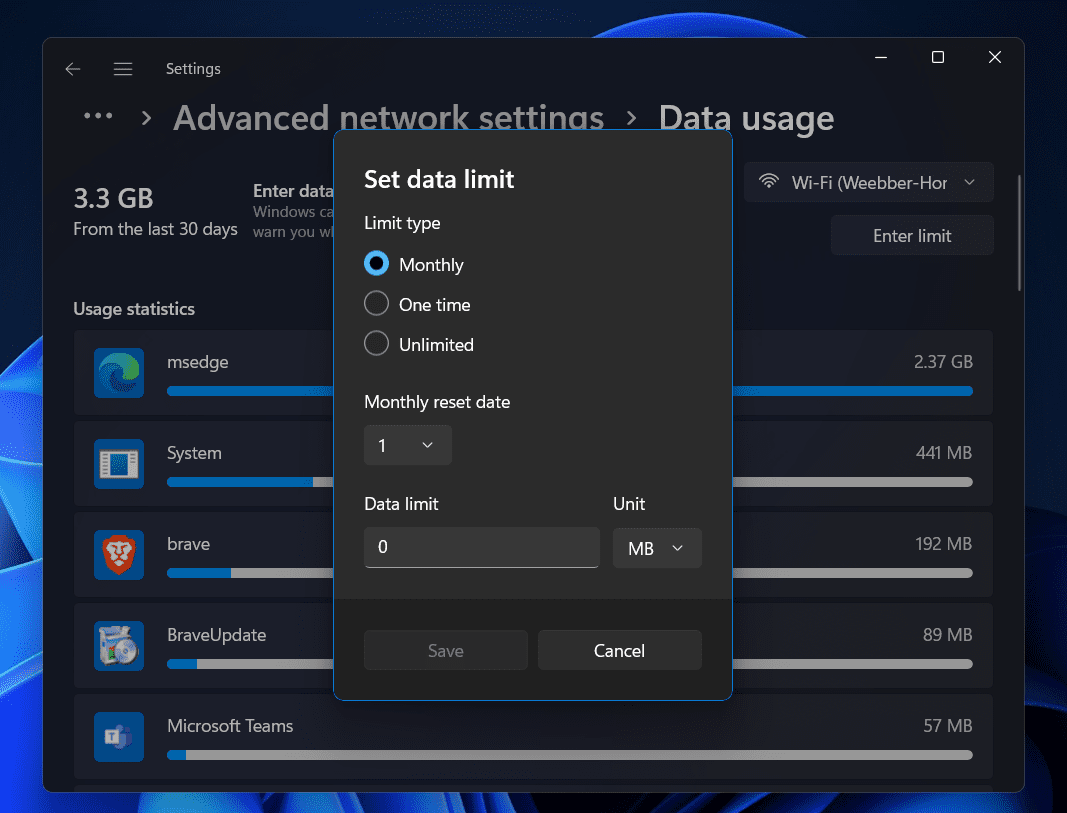
Click on the Enter limit option on the top right corner of the next page.You will see a pop-up window open up. Here enter the data limit in the space under the Data Limit. Set the unit, and then click on Save.
After you have set the data limit, you will be able to see how much percentage of the data you have used.
RELATED:
How To Fix 0x8000ffff Error Code In Windows 11How To Increase Internet Connection Speed on Windows 11How To Limit Internet Data Usage on Windows 10How To Fix The Windows 11 DNS Server Unavailable Error
This is how you can track internet usage in Windows 11. We have discussed the step-by-step process to track internet usage in Windows 11, reset usage, as well as set the data limit.
Δ